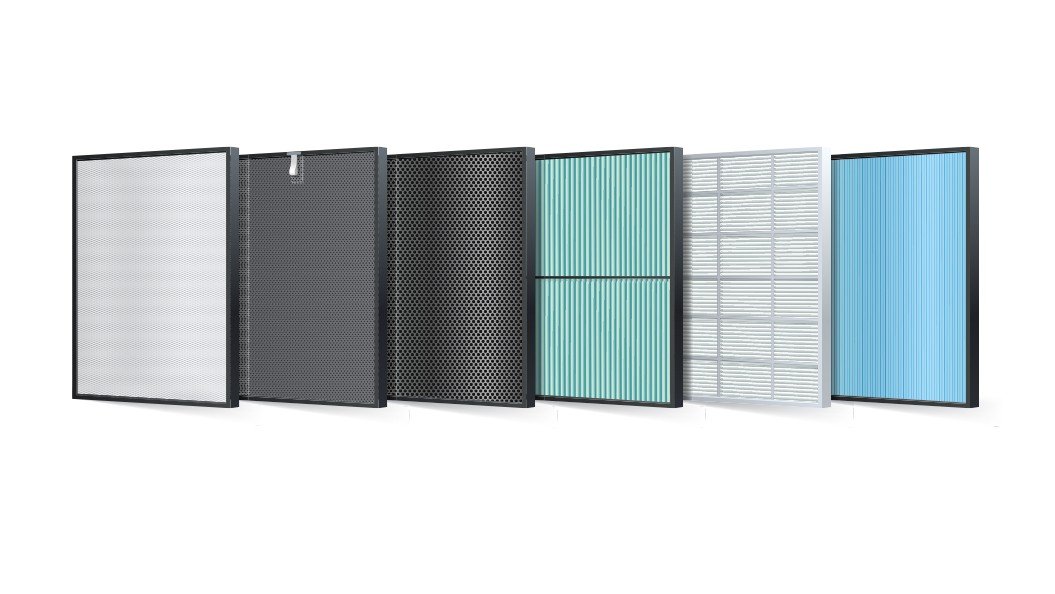
Most air filter systems consist of a filter framed within a housing. The filter material can vary, with options like fiberglass, pleated, or HEPA filters. Knowing the type of filter in your system can help you determine how often it should be changed or cleaned. For instance, pleated filters often last longer than fiberglass ones, but they can be more expensive. Understanding these differences is key to effective DIY air filter maintenance.
In addition to knowing the type of filter, it’s important to understand your filter’s MERV rating. MERV stands for Minimum Efficiency Reporting Value, and it assesses how effectively a filter captures particles. The higher the MERV rating, the smaller the particles the filter can trap. However, a higher MERV rating can also restrict airflow if your HVAC system isn’t designed for it. Finding the right balance will help you achieve the best results for your DIY air filter maintenance routine.
Regularly checking the filter and replacing it as needed is part of any effective DIY air filter maintenance schedule. Most filters should be replaced every one to three months, depending on factors like usage and air quality in your area. Keeping an eye on your filter's condition will not only help your HVAC system perform better, but it will also enhance the overall air quality in your home.
Essential Tools for Easy Maintenance
When it comes to DIY air filter maintenance, having the right tools on hand can make all the difference. You don’t need an extensive toolbox to keep your air filters in top shape, but a few essential items will help you tackle the job efficiently. Here are some must-have tools that every DIYer should consider.
First on the list is a reliable screwdriver set. Air filter housings are often held together with screws, and having a good set of screwdrivers ensures that you can easily access the filters without frustrating delays. Look for a set that includes both flathead and Phillips screwdrivers in various sizes to accommodate different types of filters. This will simplify the process of removing and replacing air filters during your maintenance routine.
Another handy tool is a vacuum cleaner with a hose attachment. Not only will this help you clean around the air filter area, but it can also be used to remove debris from the filter itself if it is washable. Using a vacuum will help maintain better air quality in your home and prolong the life of your filters. Just remember to check manufacturer guidelines on how to properly clean filters, especially if they are reusable.
Lastly, consider investing in a set of gloves and a mask. While DIY air filter maintenance may seem straightforward, handling dusty or dirty filters can expose you to allergens and pollutants. Wearing gloves will keep your hands clean, while a mask ensures that you won’t inhale any particles that may be released during maintenance. Safety first should always be your motto when diving into any DIY project!
Step by Step Cleaning Guide
Keeping your air filter clean is a vital part of DIY air filter maintenance. A clean filter ensures that your air purifier or HVAC system runs efficiently, improving air quality in your home. Here’s a straightforward guide to help you clean your air filter like a pro.
Step 1: Gather Your ToolsBefore you begin, make sure you have all the necessary tools. You'll need a vacuum cleaner with a brush attachment, a soft cloth or sponge, and perhaps some mild detergent for tougher stains. Having everything handy will make the process smoother and quicker.
Step 2: Turn Off Your SystemSafety first! Always turn off your air purifier or HVAC system before starting any maintenance. This prevents any potential accidents and makes it easier to remove the filter. Locate the filter compartment and gently remove the filter.
Step 3: Remove Dust and DebrisOnce you have the filter out, use the vacuum cleaner to remove loose dust and debris. Be gentle to avoid damaging the filter material. If your filter is washable, you can rinse it under water or use a sponge with mild detergent for a deeper clean. Make sure to thoroughly dry it before reinstalling.
Step 4: Reinstall the FilterNow that your filter is clean and dry, it’s time to put it back. Ensure that it is oriented correctly according to the arrows or markings indicating the airflow direction. After securing it in place, turn your system back on and enjoy fresh, clean air! Regular DIY air filter maintenance will keep your air quality optimal.
Signs It’s Time for Replacement
As you embark on your journey of DIY air filter maintenance, it's essential to recognize when it's time to replace your air filters instead of just cleaning them. Some signs can help you determine if your filters have reached the end of their lifespan. Ignoring these indicators can lead to reduced air quality and increased energy costs.
One of the first signs that it's time for replacement is a noticeable decrease in airflow. If you find that your HVAC system isn't pushing air as effectively as it used to, it could be a sign that your air filter is clogged with dust and debris. Regular checks are crucial, especially during peak seasons when your system is working overtime.
Another key indicator is visible dirt and grime on your air filter. A clean filter should look relatively free of dust. If you can see a thick layer of dirt, it's definitely time to swap it out. Additionally, if you notice an increase in allergy symptoms or respiratory issues at home, your filter may not be effectively capturing allergens, signaling the need for replacement as part of your DIY air filter maintenance routine.
Lastly, pay attention to any unusual sounds from your HVAC system. If you start hearing strange noises, it might be due to the system struggling to draw air through a heavily soiled filter. Listening to your system and being proactive about these signs can make a significant difference in maintaining air quality and system efficiency.